As an Amazon Associate, we earn from qualifying purchases. Some links on this site are affiliate links at no extra cost to you. Our recommendations are based on thorough research and editorial judgment.

How to Insulate a Water Heater Tank to Improve Efficiency
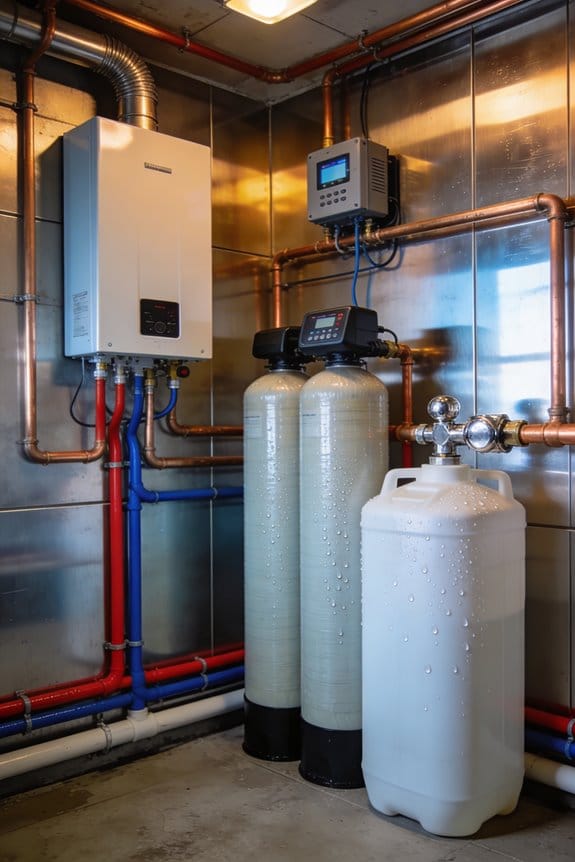
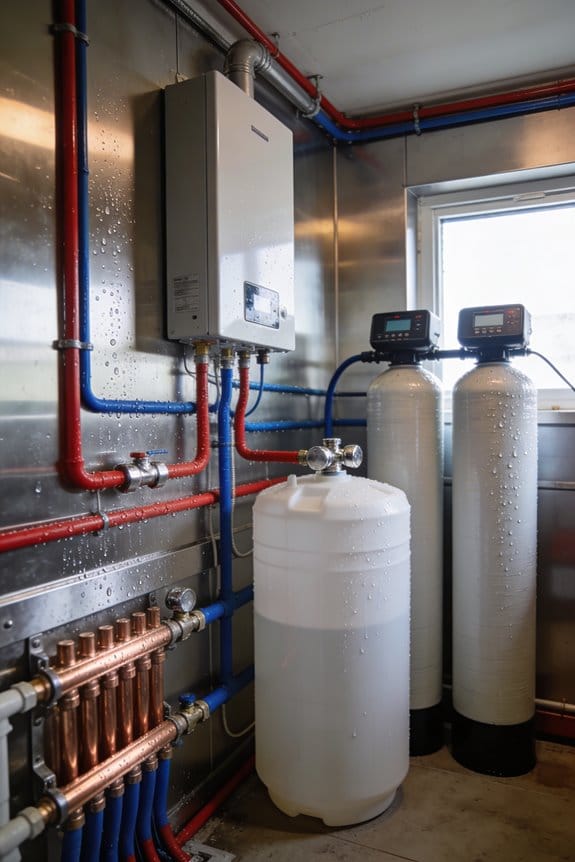
Wrapping your water heater tank with an insulation blanket reduces energy costs by 7–16% annually and pays for itself within a year. You’ll need to inspect your tank first for leaks or rust, then secure the blanket around it while avoiding the flue pipe on gas models. Adding pipe insulation nearby boosts savings another 3–4%, and lowering your temperature from 140°F to 120°F provides extra reductions. The entire project takes under an hour, though proper installation and maintenance matter greatly for lasting performance.
Key Takeaways
- Install a tank blanket wrap with R-value 4–8 to reduce annual water heating costs by 7–16% according to DOE.
- Inspect the tank for rust, corrosion, and leaks before insulating; address any damage to prevent moisture trapping.
- Wrap the first few feet of hot water outlet pipes with foam insulation for additional 3–4% energy savings.
- Maintain at least manufacturer-specified clearances around gas heater flue pipes to prevent airflow restriction and safety hazards.
- Check for tears, compression, and peeling edges seasonally; replace damaged sections promptly to preserve insulation effectiveness long-term.
Why Water Heater Insulation Pays for Itself in One Year
When you insulate your water heater tank, you’re making an investment that returns your money faster than most home improvements, because the energy savings start immediately and add up quickly. A quality insulation jacket costs between $20 and $40, yet it reduces your annual water heating costs by 7% to 16%, according to the Department of Energy. This energy savings translates to lower utility bills every single month. With such modest upfront costs and consistent monthly savings, you’ll recoup your entire investment within just one year. Beyond the financial benefits, insulation delivers carbon reduction by decreasing your home’s energy consumption. When you combine tank and pipe insulation together, your savings increase even further, making this one of the most cost-effective efficiency upgrades available.
Is Your Tank Ready? Check Before You Buy

Before you purchase an insulation jacket for your water heater, it’s important to assess whether your tank is actually ready for this upgrade. Start with a thorough tank inspection to identify any existing problems. Check for visible rust, corrosion, or damage on the tank’s exterior surface. Next, perform leak detection by examining all connection points, seams, and the bottom of the tank for water pooling or dripping. If you discover leaks, address them before insulating, since wrapping a damaged tank could trap moisture and accelerate deterioration. Additionally, note your tank’s age and location. Older tanks in cold areas benefit most from insulation. Understanding your tank’s current condition guarantees you’ll maximize your investment and avoid complications during installation.
Electric vs. Gas: Choose the Right Insulation Type

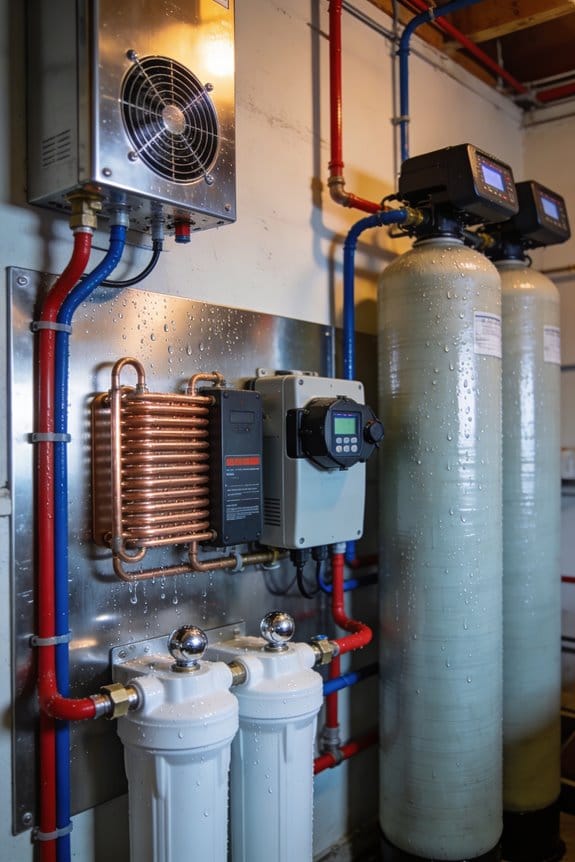
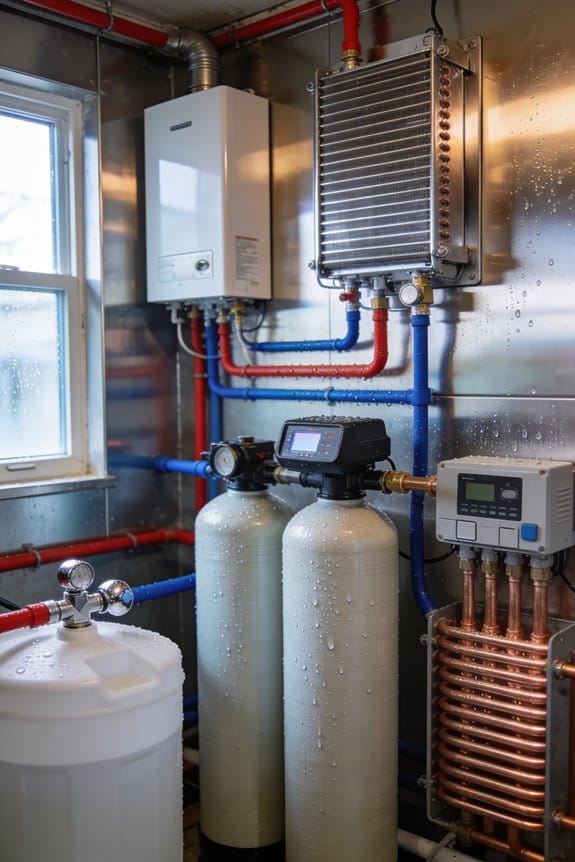
The type of water heater you own markedly determines how you should approach insulation, as electric and gas models have different structural requirements and safety considerations. Electric heaters benefit most from complete tank blankets, including underneath the unit for maximum efficiency gains of 4%-9%. Gas heaters, however, demand careful attention to combustion clearance and venting concerns. You’ll need to avoid insulating near the flue pipe where combustion gases exit, as insulation could restrict airflow and create safety hazards. Many gas heater manufacturers specify minimum clearances around the tank. Before purchasing insulation, check your heater’s manual for specific guidelines. When in doubt, consult your utility company or a professional installer who understands your particular model’s requirements.
Tank Blankets vs. Pipe Insulation: What You Actually Need

Although both tank blankets and pipe insulation reduce energy waste, they work in different ways and provide different benefits, so I’ll help you understand which one—or both—you actually need for your setup. Tank blankets wrap your entire water heater, minimizing heat loss through the tank walls themselves. Pipe insulation, meanwhile, covers the hot water lines leaving your heater, preventing heat from escaping as water travels to your faucets. I recommend starting with tank insulation, which delivers the most significant savings. However, combining both approaches yields an additional 3%-4% energy reduction. Consider material compatibility when selecting products, ensuring they match your heater type. Additionally, addressing thermal bridging—where heat escapes through uninsulated areas—requires proper joint coverage with elbow or T-shaped insulation pieces.
Check Your Utility’s Rebate Program (Free Money)

Did you know that many utility companies offer rebates or even free water heater insulation installations to help customers reduce energy consumption? I recommend contacting your local utility provider to ask about available programs. Many companies provide utility rebates that can cover part or all of your insulation costs, sometimes reaching $20-$40 or more. These incentive deadlines vary by location and season, so I suggest checking soon to avoid missing opportunities. Some utilities even send technicians to install tank blankets at no charge. I’ve found that combining rebates with the low initial cost makes insulation incredibly affordable. Before purchasing materials, I always verify what programs exist in my area, ensuring I maximize savings while upgrading my water heater’s efficiency.
How to Install Tank Insulation in 5 Steps
Once you’ve secured any available rebates or confirmed your utility’s free installation programs, you’re ready to begin the actual insulation process. First, inspect your tank for leaks before proceeding. Next, wrap the insulation jacket around your entire tank, carefully avoiding the gas flue if you have a gas heater. Use foam adhesive to secure the material firmly against the tank surface. Then, insulate the first few feet of hot water outlet pipes, which lose the most heat. Cover pipe joints with elbow or T-shaped insulation pieces. Finally, tape all gaps to guarantee continuous coverage without voids. Consider seasonal adjustment of your thermostat settings, since the insulation raises faucet temperature by 2-4°F, allowing you to lower your heater’s temperature setting.
Boost Savings 3-4% More With Pipe Insulation
While tank insulation tackles standby heat losses directly, you can build on those gains by insulating the pipes that carry hot water from your heater to your faucets. I recommend focusing on the first few feet of outlet pipes, where heat loss is greatest. Pipe insulation reduces thermal bridging—the process where heat escapes through uninsulated sections—and slows flow velocity, allowing water to retain warmth longer during transit.
You’ll achieve an additional 3-4% savings when combining pipe and tank insulation. Use foam sleeves for smaller diameter pipes and fibreglass for larger ones. Cover joints with elbow or T-shaped insulation pieces, then tape all gaps for continuous coverage. This straightforward addition maximizes your overall energy efficiency improvements without requiring significant extra effort.
Lower Your Temperature Setting (Safe Extra Gains)
After you’ve insulated your tank and pipes, lowering your water heater’s temperature setting offers an additional way to reduce energy consumption without sacrificing comfort or safety. Most manufacturers set heaters to 140°F, but you can safely reduce this to 120°F, which meets household needs while preventing scalding. This temperature adjustment aligns with energy psychology—the concept that small behavioral changes compound into significant savings. Lowering settings by just 10°F can decrease energy use by 3%-5% annually. Since insulation already raises faucet temperature by 2-4°F, you’ll maintain adequate hot water while consuming less energy. Check your heater’s manual for adjustment instructions, as procedures vary between electric and gas models. This simple modification requires no installation and delivers immediate results.
When NOT to Insulate: Age, Damage, and Limits
Lowering your temperature setting works best when your tank is in good condition, but not all water heaters benefit from insulation, and some situations actually make wrapping your tank inadvisable. Old tanks with visible rust, leaks, or corrosion shouldn’t be insulated because the blanket will trap moisture and accelerate deterioration. If your heater’s still under warranty, check the manufacturer’s requirements first, as adding insulation might void coverage. Tankless systems don’t need wrapping since they heat water on demand without standby losses. Additionally, if your tank shows signs of failure or needs replacement soon, investing in insulation isn’t cost-effective. Have a professional inspect questionable units before proceeding with any modifications to guarantee safety and peak performance.
Insulation Maintenance: Keep It Working 10+ Years
Protecting your water heater’s insulation blanket requires regular attention and simple maintenance tasks, much like caring for any home system that deserves longevity. I recommend performing seasonal inspections to check for tears, compression, or peeling edges that reduce effectiveness. Moisture control proves equally important, so make certain your installation area has proper ventilation to prevent dampness from degrading the insulation material. If you notice water pooling beneath your tank or condensation buildup, address it immediately by improving air circulation or adjusting your setup. Replace any damaged sections promptly rather than waiting until problems worsen. These straightforward maintenance practices preserve your insulation’s R-value and help your system continue delivering those 7%-16% energy savings for over a decade.
Frequently Asked Questions
Can Insulation Blankets Catch Fire Near the Water Heater’s Combustion Area?
I’d advise you that yes, fire risk exists near combustion areas. You’ll want to maintain proper clearances requirements around your gas heater’s flue to prevent blanket contact with hot gases and potential ignition hazards.
What R-Value Insulation Do I Need for My Specific Climate Zone?
I’d recommend checking an R-value chart against your climate mapping zone. Generally, you’ll need R-12 to R-19 for moderate climates, R-19+ for cold areas. I’d verify your specific zone’s requirements with your local utility.
How Often Should I Replace or Upgrade My Tank Insulation Wrap?
I’d recommend checking your insulation wrap annually during seasonal inspections to catch any damage or deterioration. Most wraps last 5-10 years before needing replacement, depending on environmental conditions and wear.
Will Adding Insulation Void My Water Heater’s Manufacturer Warranty Coverage?
I’d recommend contacting your manufacturer directly since warranty nuances vary considerably by brand. Most won’t void coverage if you’re careful, but I’d verify before installing—manufacturer contacts can clarify their specific policies.
Can I Insulate a Water Heater That’s Already 15+ Years Old?
Yes, you can—though insulating your ancient relic might feel like putting lipstick on a dinosaur. At 15+ years, I’d inspect for corrosion risks first. Age considerations matter; older tanks yield higher efficiency gains, but rust could complicate installation.